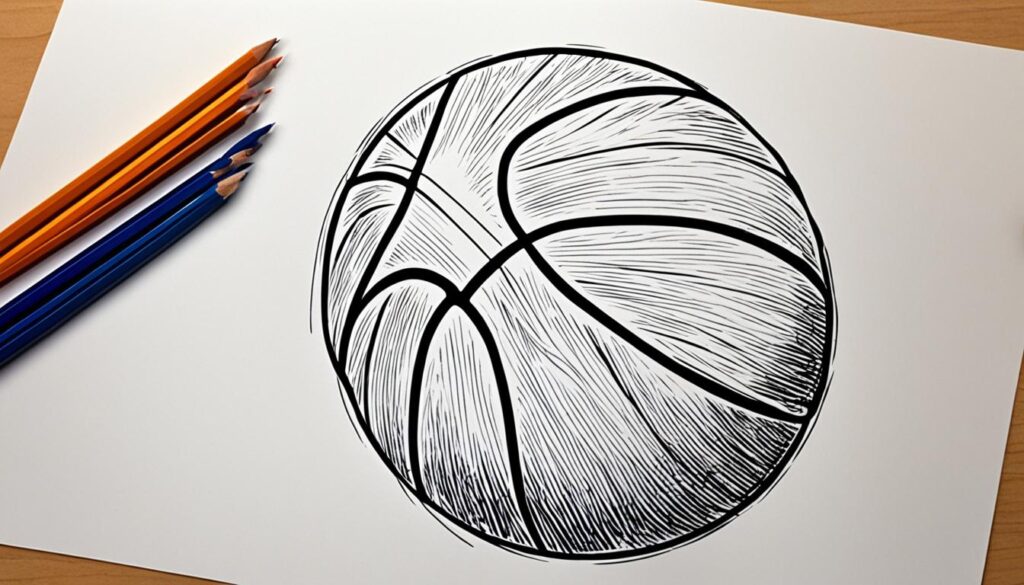
Drawing a basketball can be challenging, but with this easy guide, you can learn how to draw a basketball step by step. Whether you’re a beginner or just looking to improve your drawing skills, this tutorial will provide you with all the necessary steps to create a perfect basketball illustration. From drawing a perfect circle to adding the details and color, you’ll find everything you need to know in this guide.
Key Takeaways: How To Draw a Basketball
- Learn how to draw a basketball with this easy step-by-step tutorial.
- Perfect your drawing skills by following the detailed instructions in this guide.
- Add color and shading to make your basketball illustration more realistic.
- Personalize your drawing by adding branding and additional details.
- Showcase your own artistic style and creativity in your basketball drawing.
Materials Needed for Drawing a Basketball
Before you start drawing a basketball, make sure you gather all the necessary materials. Having the right tools on hand will make the process easier and more enjoyable. Here’s a list of what you’ll need:
- A pencil for sketching the initial outline of the basketball.
- A sheet of paper to serve as your drawing surface. Choose a size that suits your preference.
- A marker for outlining the basketball and making the lines more defined.
- Coloring utensils to add vibrant and realistic colors to your basketball illustration.
- If available, a compass can be helpful for drawing a perfect circle. It ensures accuracy and helps achieve a professional-looking result.
Make sure all these supplies are readily available before you begin your drawing. Being prepared will allow you to focus on your creative process without any interruptions.
Step 1 – Drawing a Perfect Circle
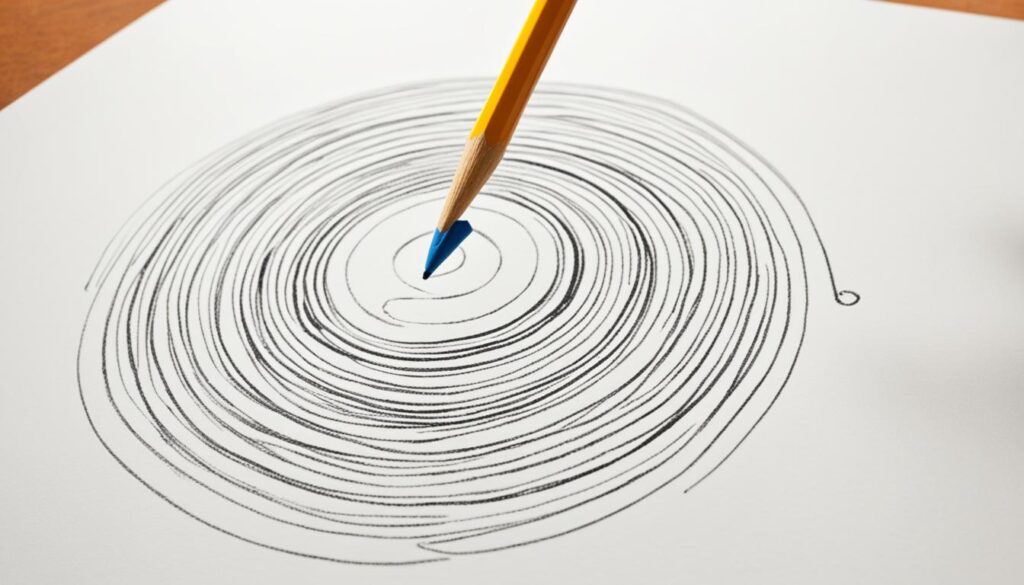
When it comes to drawing a basketball, the first and most crucial step is creating a perfect circle. This sets the foundation for your illustration and ensures that the final result looks authentic. To achieve a precise circle, you can use a protractor or a compass as your guiding tool.
Pro tip: For those who are unfamiliar with a protractor, it is a semi-circular instrument typically made of transparent plastic or metal. It is widely used in mathematics and geometry to measure angles. On the other hand, a compass is a tool specifically designed for drawing circles, enabling you to set the desired radius and pivoting around a fixed point.
Start by lightly sketching a circle using a pencil. The goal here is to create a rough outline. Once you are satisfied with the overall shape, you can emphasize the circle by tracing over it with a marker or a darker pencil. This will make the line more defined and visible, serving as the outline of your basketball.
Remember, practice makes perfect. Don’t be discouraged if your first attempt at drawing a perfect circle doesn’t turn out exactly as you envisioned. With time and practice, your circles will become more precise, and your basketball illustrations will improve.
“Drawing a perfect circle is an essential step in creating a realistic basketball illustration.”
Protractor vs. Compass
| Protractor | Compass |
|---|---|
| Used to measure angles | Specifically designed for drawing circles |
| Semi-circular instrument made of transparent plastic or metal | Tool with adjustable radius and a fixed pivot point |
| Widely used in mathematics and geometry | Mainly used for drawing precise circles |
Step 2 – Adding the Details

After drawing the perfect circle, it’s time to add the details to your basketball. The details are what make your drawing realistic and recognizable as a basketball. Let’s break down the steps:
Vertical Line
Start by drawing a straight vertical line in the center of the circle. This line will serve as a guide for positioning the ribs of the basketball. Use a ruler or the edge of a piece of paper to ensure that the line is perfectly straight.
Curved Lines
Next, draw two curved lines on each side of the vertical line. These lines will create the ribs of the basketball, giving it a textured and three-dimensional appearance. The curves should follow the shape of the circle and extend from the top to the bottom, curving slightly inward as they reach the edges of the circle. Take your time to make sure the curves are even and symmetrical.
Horizontal Line
To complete the basic structure of the basketball, add a horizontal line in the middle of the ball. This line will create the division between the upper and lower halves of the ball. It should be parallel to the ground and extend from one side of the ball to the other.
Once you have added these details, your basketball will start to take shape. The curved lines and vertical line give the illusion of the ball’s texture and seams, while the horizontal line adds depth and dimension. Take a step back and admire your progress so far.
Diagram: Basic Structure of a Basketball
| Structure | Description |
|---|---|
| Vertical Line | A straight line drawn in the center of the circle. |
| Curved Lines | Two curved lines on each side of the vertical line to create the ribs. |
| Horizontal Line | A line drawn in the middle of the ball to divide it into upper and lower halves. |
With these details in place, you’re one step closer to creating a realistic basketball illustration. Next, we’ll explore how to add color to bring your drawing to life.
Step 3 – Coloring the Basketball
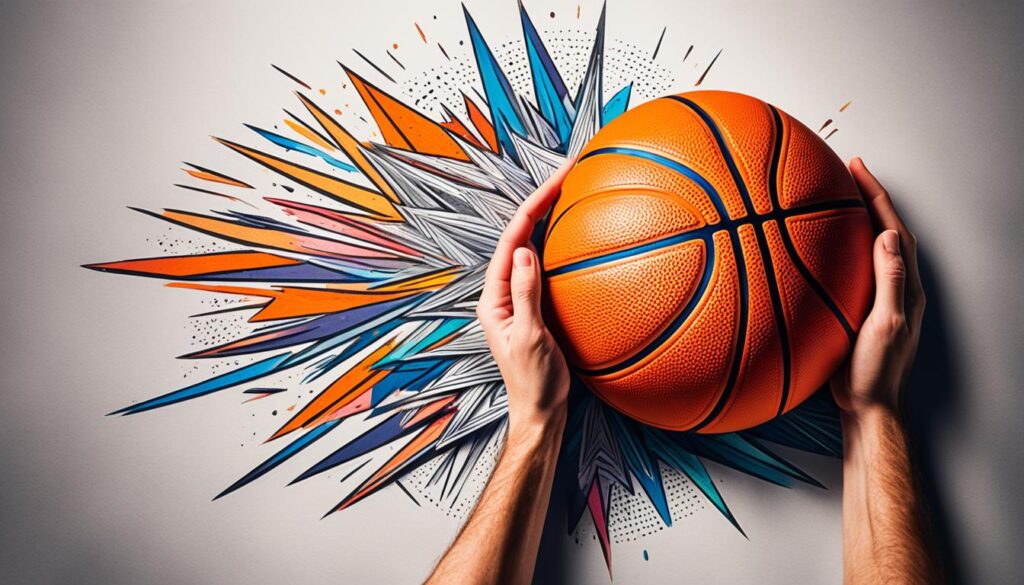
Now that you have sketched the basic structure of the basketball, it’s time to bring it to life with color. Choosing the right colors and adding shading can make your drawing appear more realistic and three-dimensional.
Start by selecting a color for the basketball. Traditionally, basketballs are orange, so you can use an orange shade for the main body of the ball. Fill in the shape of the basketball with this color, making sure to stay within the outline.
To make your drawing look more realistic, add shading using a lighter color. This will create the illusion of depth and make the basketball appear more rounded. Apply the lighter color to the areas where the light would naturally hit the ball, such as the top and sides.
Next, add darker shades to the ribs of the basketball. This will give them a three-dimensional appearance and make them stand out. Use a darker color to shade the areas between the ribs, creating contrast and depth.
Remember to blend the colors smoothly to achieve a realistic look. You can use a blending tool or simply a tissue to soften any harsh lines and create a seamless transition between colors.
Take a step back and evaluate your colored basketball drawing. Make any necessary adjustments to ensure that the shading and colors enhance the overall realism of the illustration.
Below is a table summarizing the steps for coloring the basketball:
| Step | Instructions |
|---|---|
| 1 | Choose an orange color for the basketball. |
| 2 | Fill in the basketball shape with the chosen color. |
| 3 | Add a lighter color for shading to create depth. |
| 4 | Apply darker shades to the ribs for a three-dimensional effect. |
| 5 | Blend the colors smoothly for a realistic look. |
| 6 | Evaluate and make any necessary adjustments. |
Step 4 – Adding Additional Details
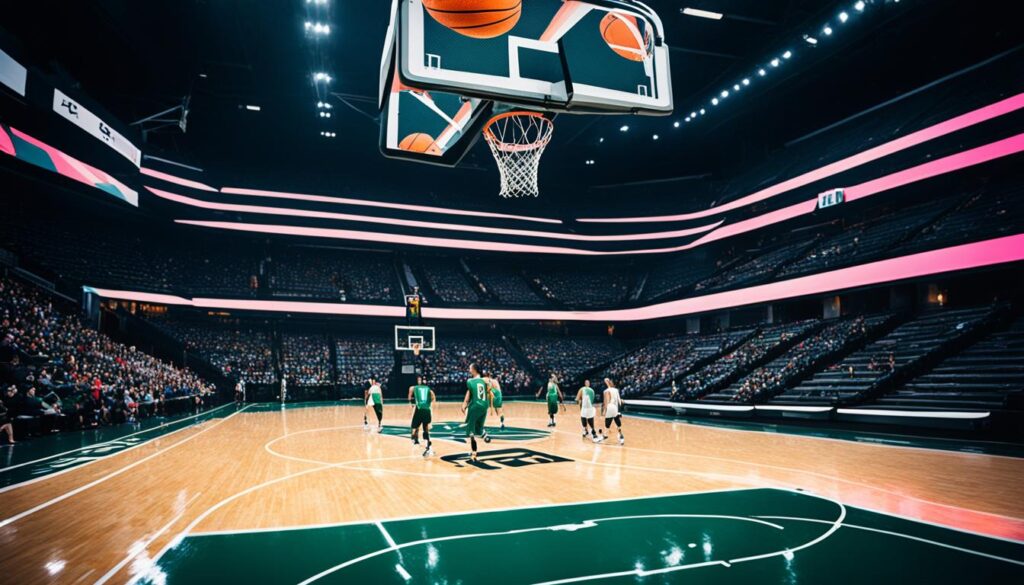
To make your basketball drawing more unique, consider adding additional details. By incorporating branding, basketball accessories, personalization, and background elements, you can enhance the overall visual appeal and storytelling of your artwork.
Add Branding:
One way to make your basketball illustration stand out is by including the logo of your favorite basketball brand on the ball. Whether it’s the iconic Jumpman logo of Air Jordan or the NBA logo, incorporating branding adds authenticity and recognition to your artwork. Research the brand logos and carefully recreate them to ensure accuracy in your drawing.
Include Basketball Accessories:
To make your basketball illustration more dynamic and complete, consider adding basketball accessories. This could include drawing basketball shoes, a jersey, or even a basketball net in the background. These accessories not only add detail to your artwork but also create a sense of movement and context.
Personalize Your Drawing:
Don’t hesitate to infuse your personal style and creativity into your basketball drawing. Experiment with unique patterns, color combinations, or artistic techniques that reflect your individuality. Personalization allows your artwork to stand out and showcases your artistic vision.
Create a Background:
Adding a background to your basketball drawing helps set the scene and adds depth to the illustration. Consider drawing a basketball court, a stadium filled with cheering fans, or any other basketball-related environment that complements your artwork. The background creates context and enhances the overall visual narrative.
With these additional details, your basketball drawing will become a unique representation of your creativity and passion for the sport.
Step 5 – Finalizing the Drawing
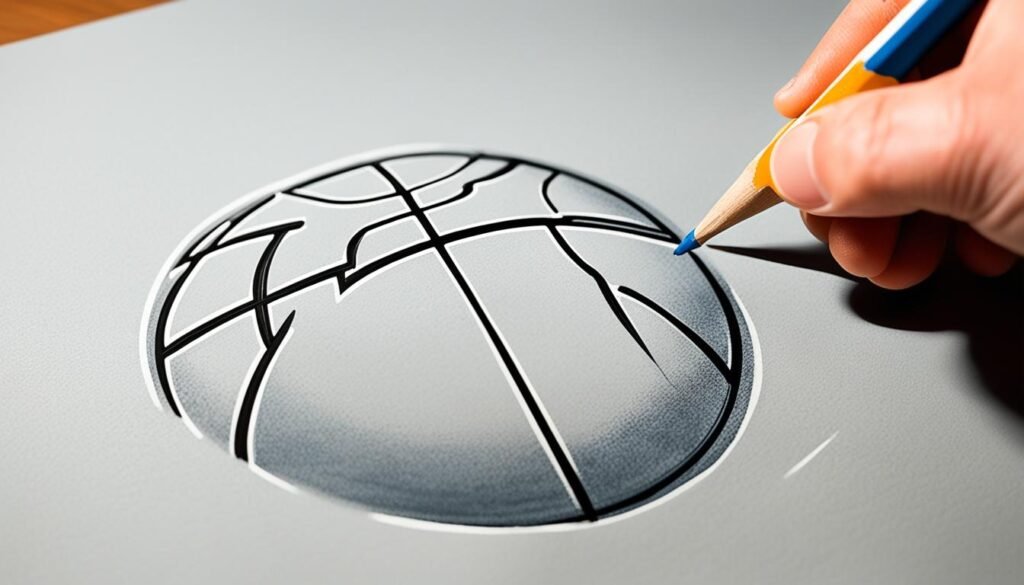
Once you have added all the desired details to your basketball drawing, it’s time to put the finishing touches on your artwork. While following the step-by-step process is essential, don’t forget to add your personal style and creativity to make the drawing truly unique.
Take a moment to evaluate your drawing as a whole. Are there any areas that need adjustments or additional details? This is your opportunity to make the artwork truly yours and showcase your artistic flair.
Consider adding small refinements or subtle changes to enhance the overall composition. It could be adding extra texture to the basketball surface or refining the shading and highlighting to create depth and dimension. Don’t be afraid to experiment and let your creativity shine.
“Creativity is allowing yourself to make mistakes. Art is knowing which ones to keep.” – Scott Adams
Remember, the process of drawing is not only about following steps but also about expressing yourself and bringing your personal style to the artwork. Trust your instincts and let your creativity guide you as you add the final touches to your basketball illustration.
Tips and Tricks for Drawing a Basketball
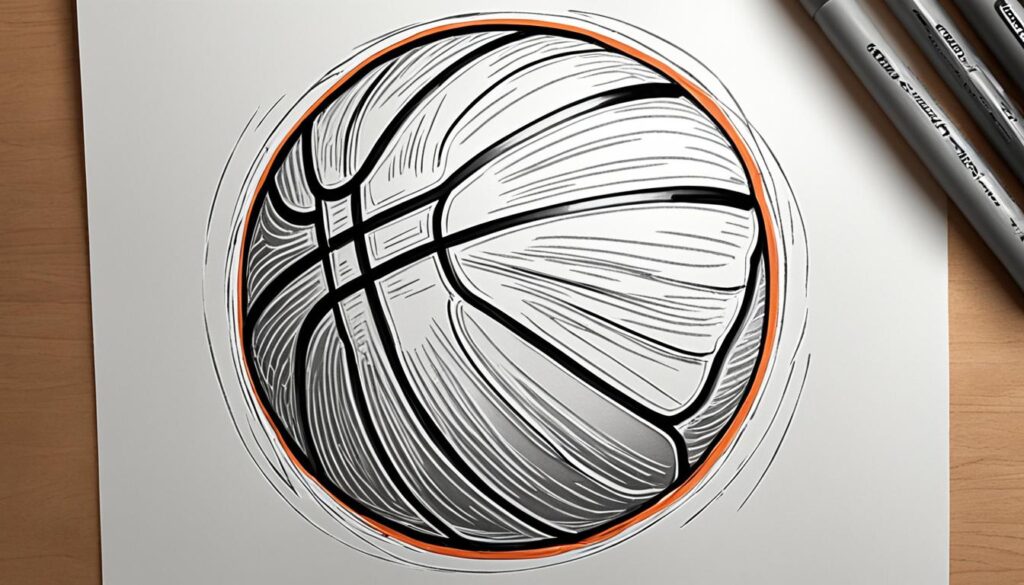
Drawing a basketball may take some practice to master. To improve your drawing skills, consider using reference images of basketballs to better understand the shape and details. Experiment with different art supplies, such as colored pencils or markers, to achieve the desired effect. Observe real basketballs and pay attention to the texture, lighting, and reflections to make your drawing more realistic.
Practice
Like any skill, drawing requires practice to improve. Set aside regular time to practice drawing basketballs and other objects. The more you practice, the better your skills will become.
Reference Images
Using reference images can greatly enhance your drawing. Look for high-quality images of basketballs from different angles to help you understand the shape, texture, and details. Use these images as a guide and reference while drawing.
Art Supplies
Experiment with various art supplies to find the ones that work best for you. Colored pencils and markers can both be great options for adding color and detail to your basketball drawing. Try different brands and types of pencils and markers to find the ones that produce the desired effect.
Observation
Observation is key to creating a realistic drawing. Study real basketballs and pay close attention to the texture, lighting, and reflections. Take notice of how light interacts with the surface of the ball and how it affects the shadows and highlights. Incorporating these details into your drawing will make it more lifelike.
Remember, drawing is a skill that develops over time. Don’t be discouraged if your first attempts at drawing a basketball don’t turn out exactly as you imagined. Keep practicing, experimenting, and observing, and you’ll continue to improve.
| Practice | Reference Images | Art Supplies | Observation |
|---|---|---|---|
| Regular practice improves your drawing skills. | Using reference images helps you understand the shape and details. | Experiment with different art supplies for desired effects. | Observe real basketballs for texture, lighting, and reflections. |
| Set aside dedicated time for drawing practice. | Look for high-quality images to guide your drawing. | Try colored pencils and markers to add color and detail. | Pay attention to how light interacts with the basketball. |
| Consistent practice leads to skill improvement. | Use reference images as a visual guide. | Explore different brands and types of art supplies. | Incorporate texture, shadows, and highlights into your drawing. |
Also Read: Experience Baseball Epic Sports: A New Level Of Game Play
Conclusion
Drawing a basketball may seem challenging, but with the right techniques and practice, you can create a perfect basketball illustration. This easy guide has provided step-by-step instructions to help you learn how to draw a basketball, whether you’re a beginner or an experienced artist. By following the detailed steps in this tutorial, you can confidently create a realistic basketball drawing.
Personalization is key when it comes to your artwork. Adding additional details and showcasing your own artistic style will give your basketball illustration a unique touch. Consider incorporating branding elements, such as the logo of your favorite basketball brand, to make the drawing more personalized. You can even include other basketball accessories and a background to add depth and context to your artwork.
Remember, drawing is not just about following steps, but also about expressing your creativity. With practice, observation, and the right art supplies, your drawing skills will continue to improve. So grab your pencils, unleash your creativity, and have fun with How To Draw a Basketball!
FAQs
What is the main description of this drawing tutorial?
A: This tutorial provides a step-by-step guide on how to draw a basketball perfectly.
Q: Could I get a brief transcript of the steps involved in drawing a basketball?
A: The tutorial includes easy steps like outlining the ball, adding shading for realism, and drawing the hoop and backboard.
Q: Is there a step-by-step tutorial available for drawing a basketball?
A: Yes, this tutorial breaks down the process into simple steps for easy understanding.
Q: How can I learn to draw a basketball hoop alongside the basketball?
A: You will also learn how to draw a basketball hoop, making your drawing more complete and realistic.
Q: Are there any specific instructions on drawing a basketball in an easy way?
A: Yes, this tutorial offers detailed instructions for drawing a basketball in a simple and easy-to-follow manner.
Q: Can I find a tutorial on YouTube for drawing a realistic basketball?
A: Yes, you can find a video tutorial on YouTube for drawing a realistic basketball.
Q: How can I subscribe for more drawing tutorials like this one?
A: You can subscribe to the channel for more tutorials on drawing, including basketballs and other subjects.
